Upload Files to a Bucket
Kevel Audience provides an S3 bucket for privacy and security reasons where files can be uploaded and stored securely. The bucket lives within the dedicated AWS account. The customer can only access it for uploading the files; Kevel Audience can only access the bucket to process uploaded files.
Files can be uploaded through the Dashboard UI, programmatically using AWS SDKs or manually. For manual uploads, we recommend Cyberduck, an open-source and user-friendly tool.
Uploading a file does not start an import on its own. The exception is an automated import that is already set up to watch the folder you upload to, which starts shortly after a new file appears. Otherwise, create an import under Collect > Data Imports that points at the file. See the Import Guide. Files uploaded through the dashboard are deleted after 30 days, so do not point a scheduled or file detection import at them.
Files that are uploaded to this bucket are automatically deleted after 2 years.
File Names
- Name files by upload date,
YYYYMMDDHHMMSS, adding-1,-2for several files (for example,20211006090000-1.csv). Folder imports read files alphabetically and skip names already imported, so this keeps order and avoids skipped files. - Use only letters A to Z, digits,
-,_and.. Other characters, such as accented letters or$, are rejected when the import is created.
Uploading from Audience Dashboard UI
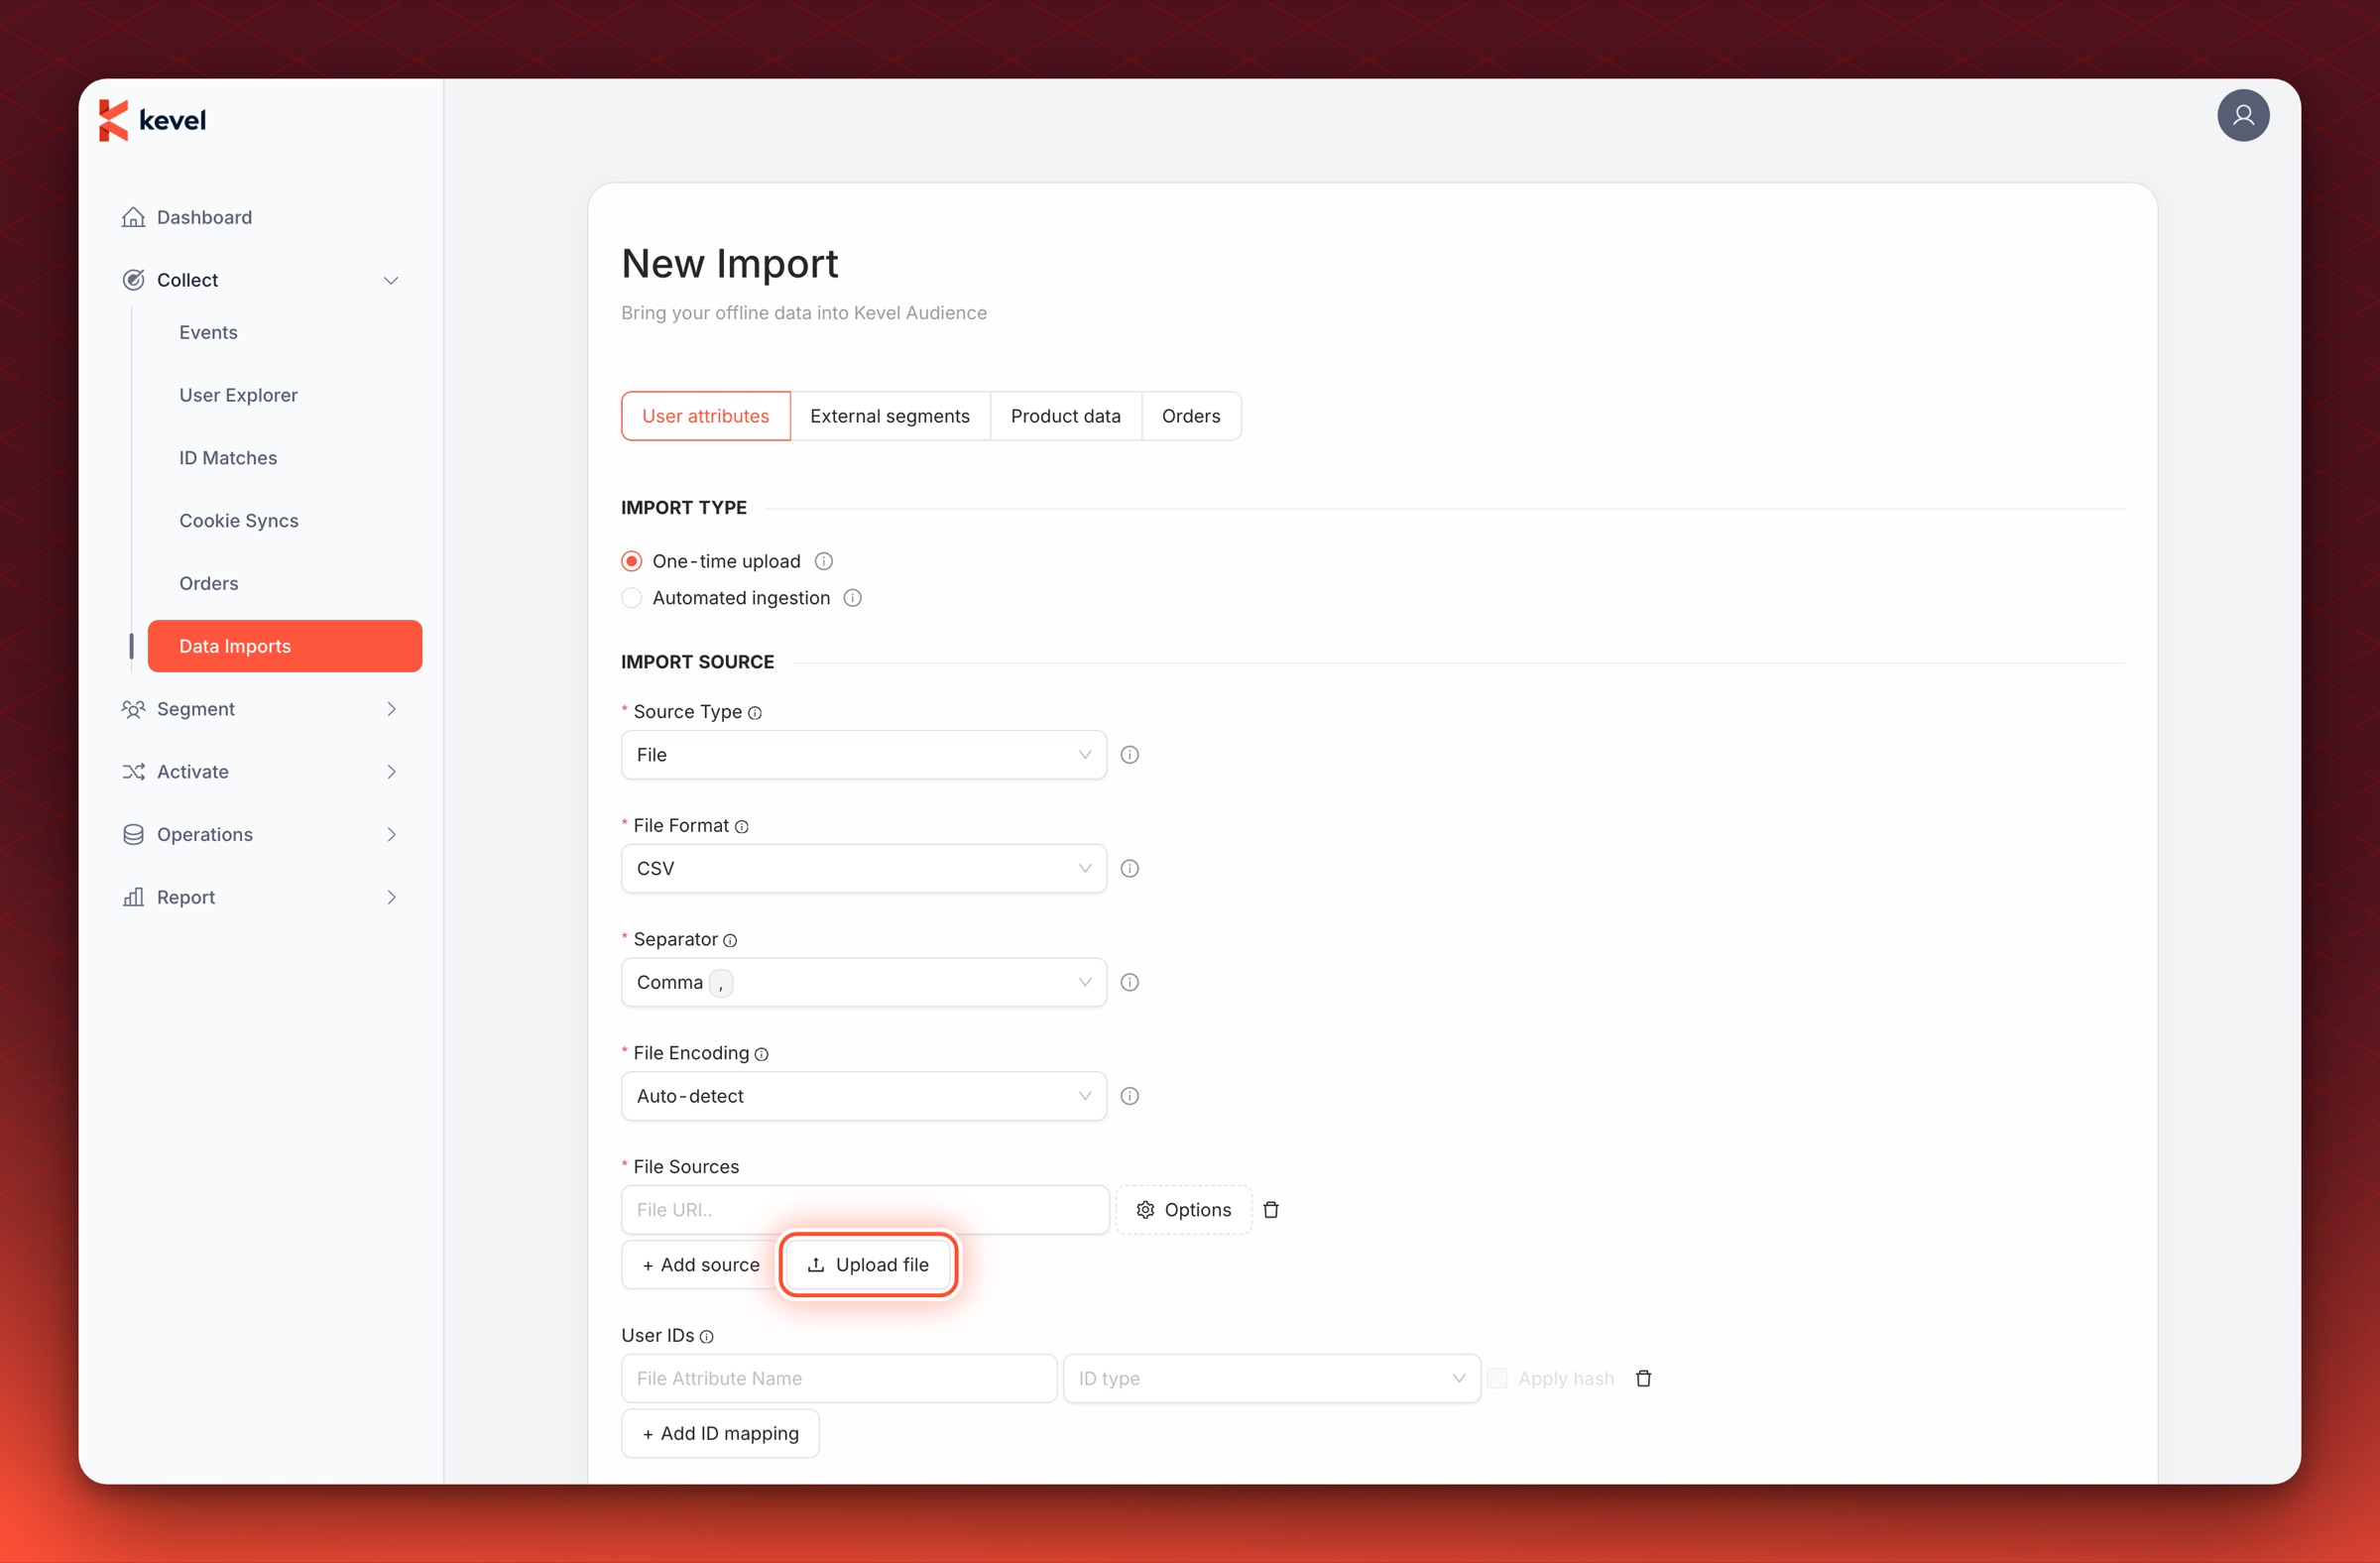
To upload files to the provided bucket from the Dashboard, click Upload file or drag and drop them anywhere on the page. No credentials are required when uploading through the interface. Uploaded files will be automatically deleted after one month.
Uploading with Cyberduck
To upload files using Cyberduck, please follow the instructions:
-
Download the application from Cyberduck and install it;
-
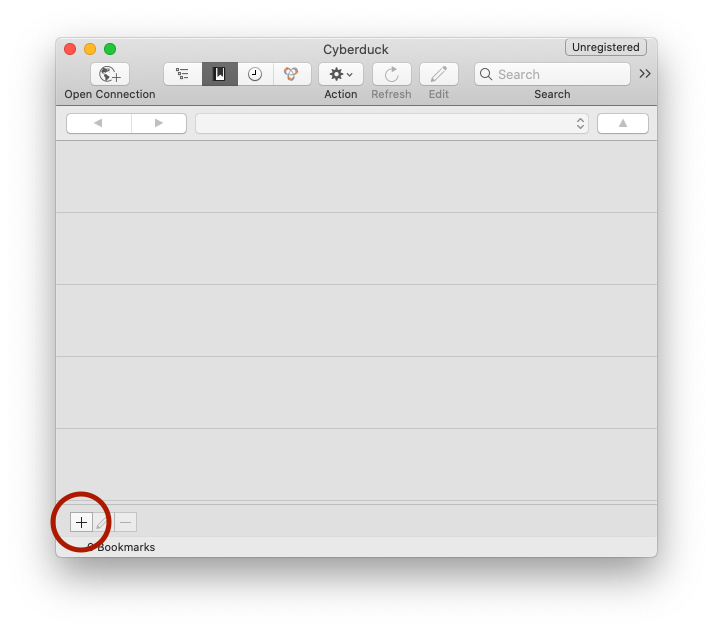
Create a connection by clicking on the "+" button in the lower-left corner of the application;
-
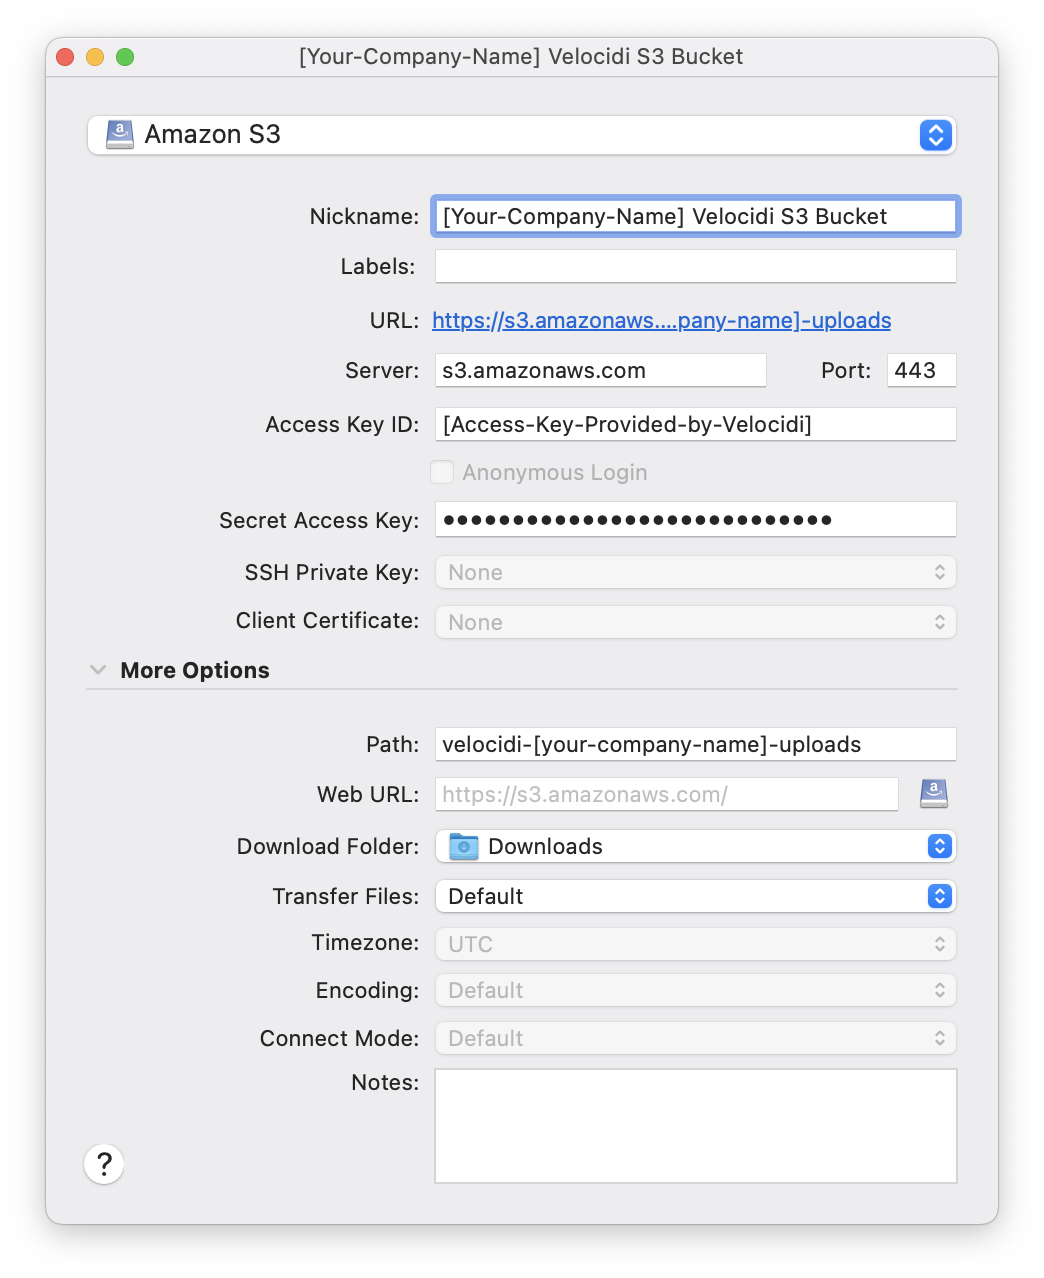
Input an appropriate nickname for the connection;
-
Select Amazon S3 from the dropdown menu on the top;
-
Input the Access Key ID, Secret Access Key, and path provided by your Customer Success Manager;
-
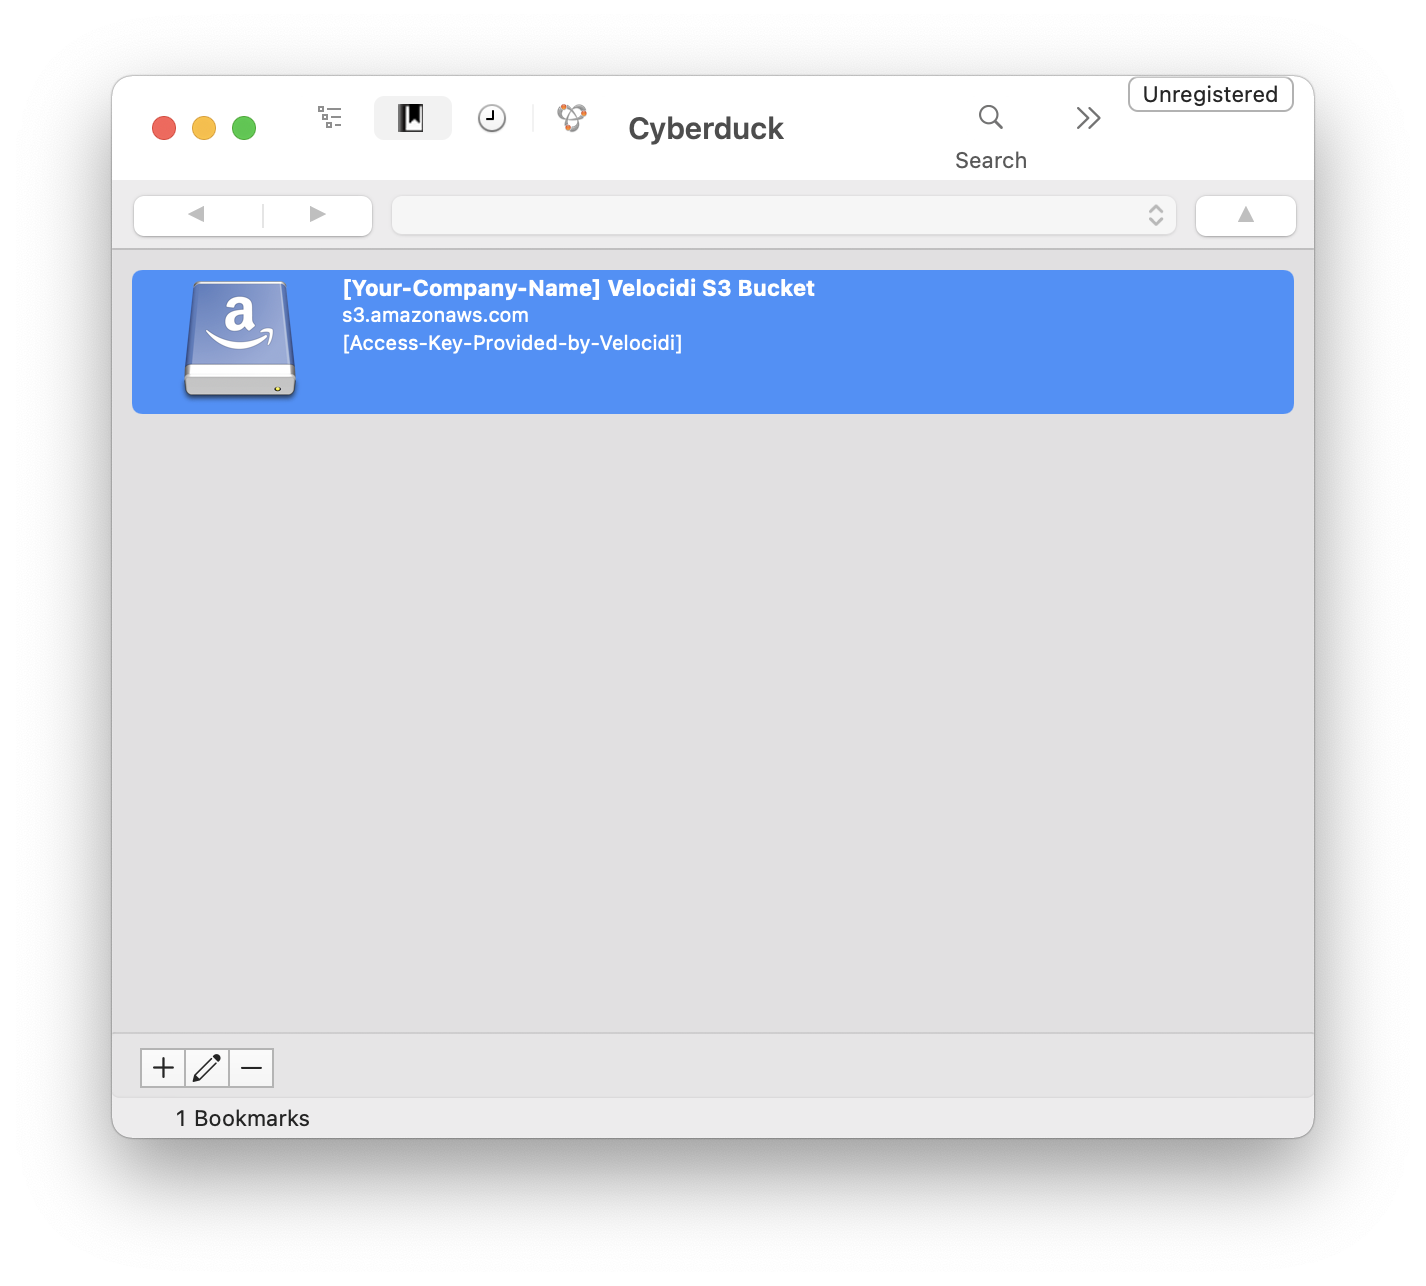
Close the editing menu, the configuration is saved automatically;
-
Double click the newly created entry;
-
Drag and drop appropriate files to transfer.